Crown Molding Repair Services Overview
Visitors will learn about local contractors who specialize in crown molding repair services and how to compare options to find the right professional.
- - Crown molding repair services for homeowners seeking to restore or enhance interior elegance.
- - Local contractors specializing in crown molding restoration, installation, and damage repair.
- - Connect with experienced service providers to handle crown molding projects across residential and commercial properties.
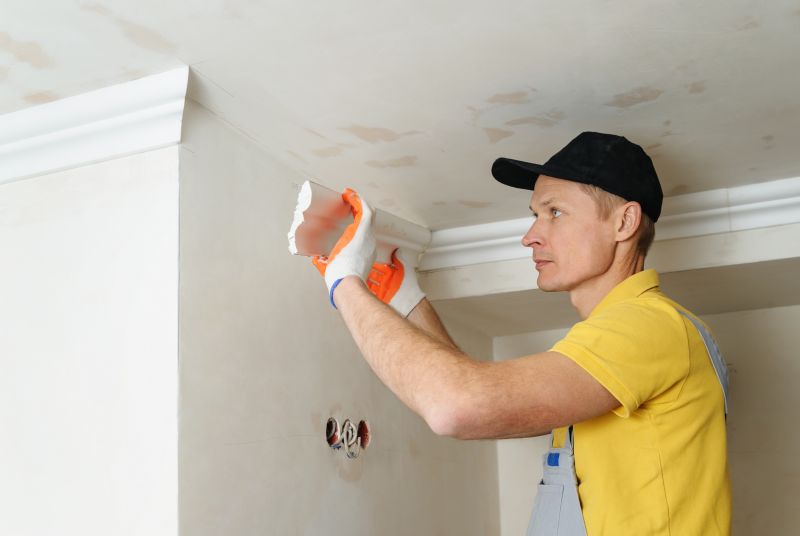
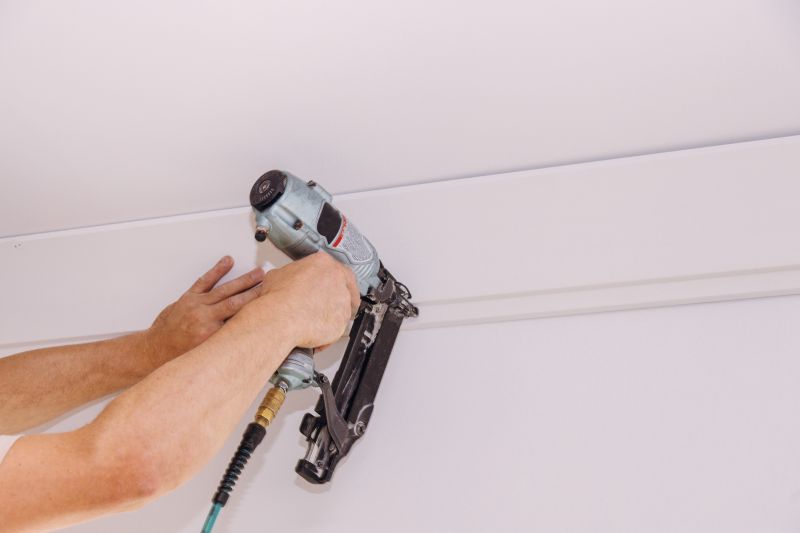
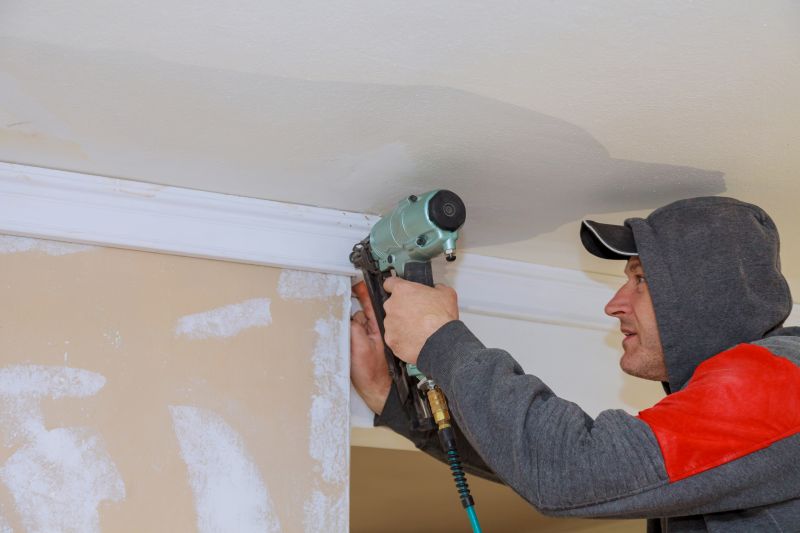
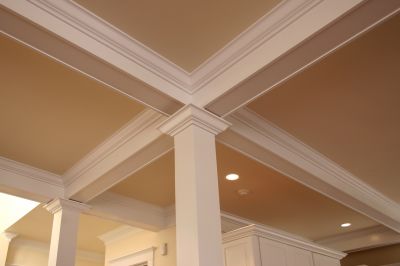
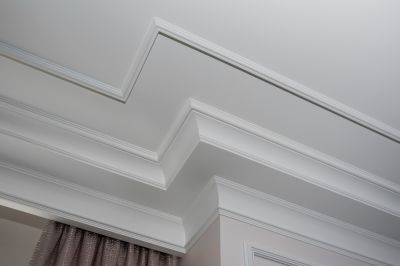
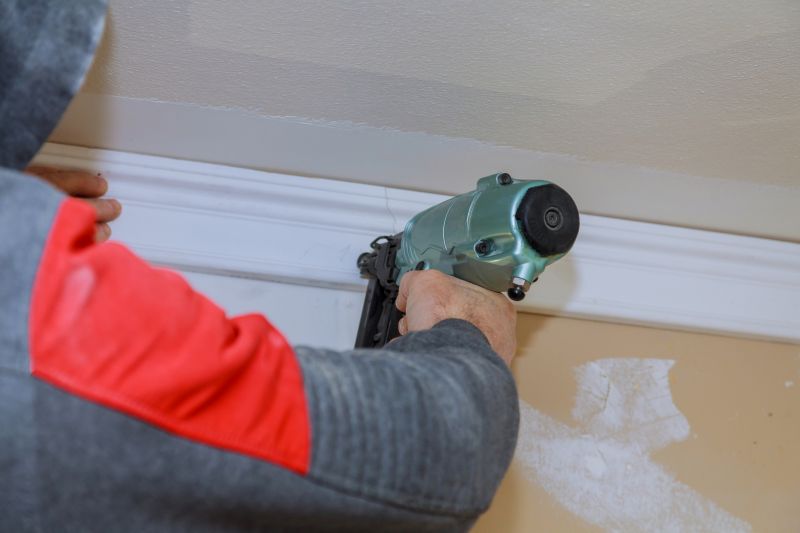
Crown molding repair is a common service sought by property owners looking to restore or enhance the decorative trim that adds architectural detail to interior spaces. Over time, crown molding can become damaged, cracked, or loose due to settling, moisture, or general wear and tear. Local contractors specializing in crown molding repair have the experience to assess the extent of the damage, remove and replace sections as needed, and ensure a seamless finish that matches existing trim. These professionals typically work with a variety of materials and styles to restore the aesthetic appeal of crown molding in homes and businesses.
Property owners often turn to local service providers for crown molding repair when they notice issues such as gaps, sagging, or visible damage that detracts from the room’s appearance. Skilled contractors can handle both minor fixes and more extensive repairs, helping to preserve the integrity and visual appeal of crown molding. When seeking assistance, homeowners and business owners can expect local pros to provide practical solutions tailored to their specific needs, ensuring that the decorative elements are properly restored and securely installed.
Crown Molding Repair Services
- Learn how local contractors approach crown molding repairs to ensure quality results.Expert Craftsmanship
- Discover the skills and techniques used by nearby service providers for precise repairs.Project Options
- Explore different styles and materials available through local contractors to match your space.This guide provides helpful information to understand the process of Crown Molding Repair and what to consider when planning a project. It assists in comparing local contractors and service providers to find those best suited for specific needs. Additionally, it offers tips on communicating project details clearly to ensure effective connections with qualified professionals.